
Breast self-exams, or examining your breasts on your own, can be an important way to detect breast cancer early, when it is more likely to be successfully treated.
Although no single test can detect all breast cancers at an early stage, many people report that performing a breast self-exam in conjunction with other screening methods can improve the chances of early detection.
Breast self-examination can be an effective and important screening tool when combined with:
- regular physical exams by a doctor
- mammography
- MRI (magnetic resonance imaging), ultrasound, or both
Each of these screening tools functions differently and has different strengths and weaknesses. Breast self-examination is a simple, no-cost tool that can be used monthly and at any age as part of your overall breast cancer screening strategy.
How to Perform a Breast Self-Examination: Five Steps to Check for Breast Cancer at Home
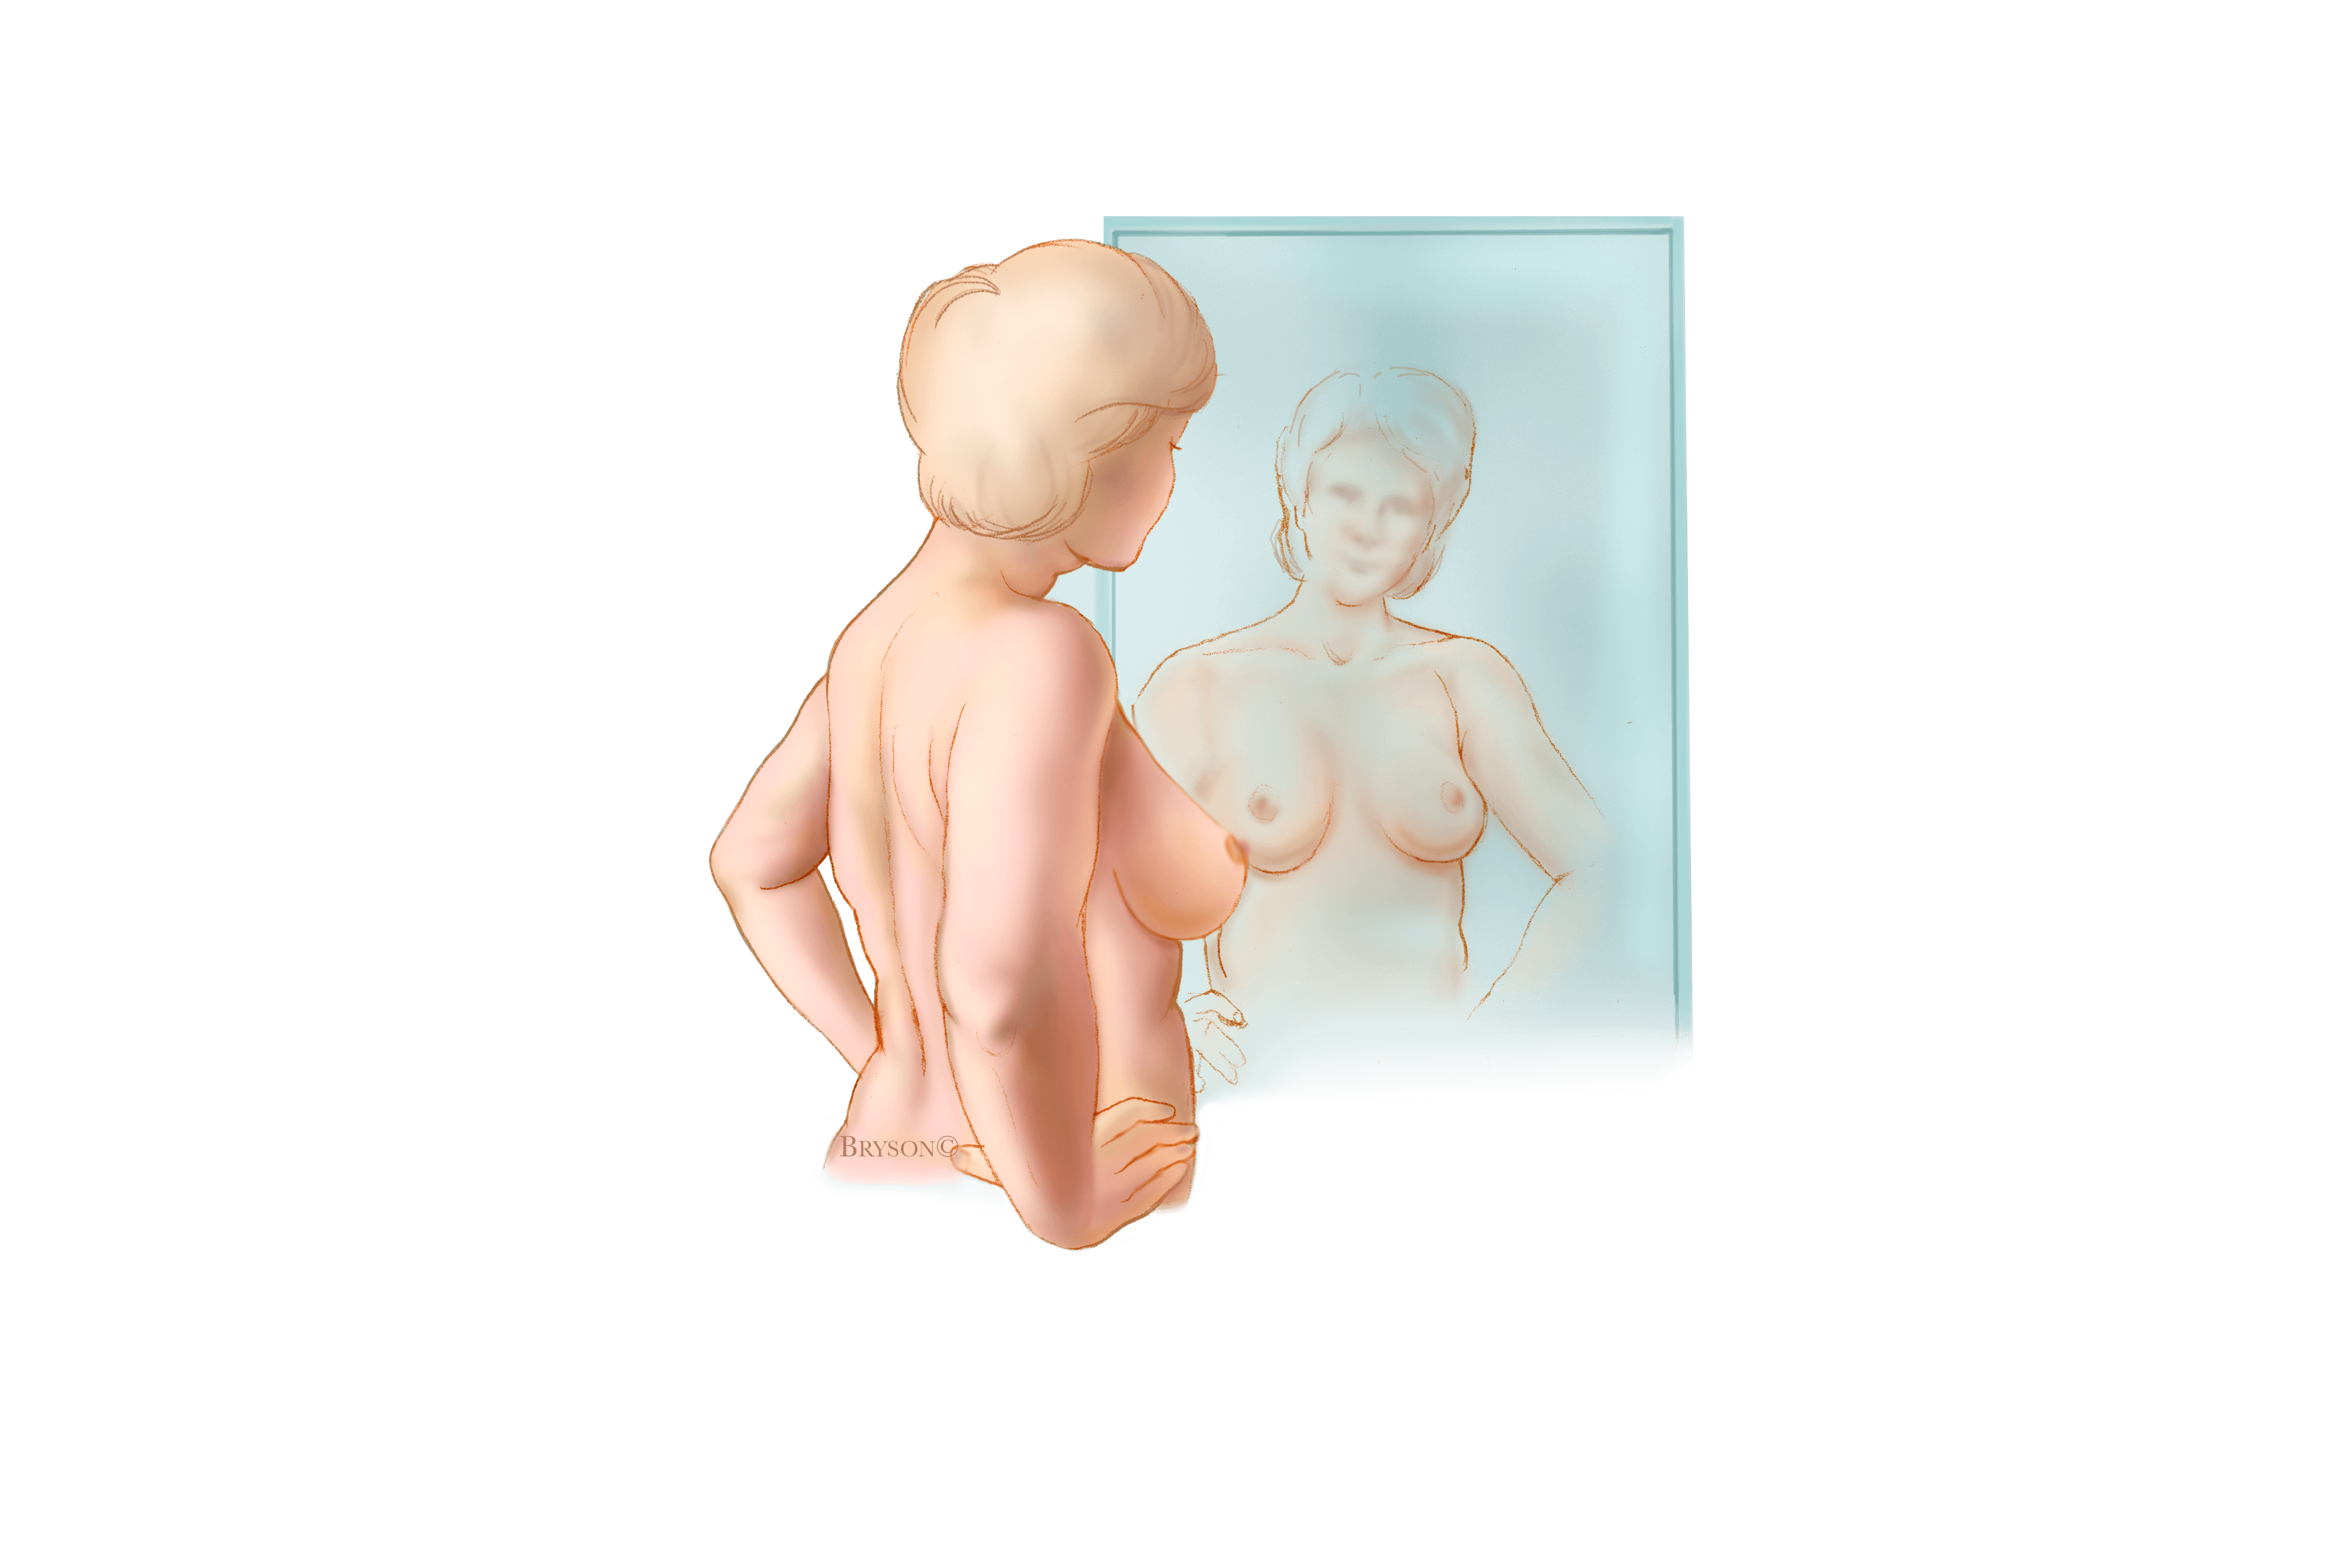
Step 1: Examine Your Breasts in a Mirror with Hands on Hips
Begin by looking at your breasts in the mirror with your shoulders straight and your arms on your hips
. Here’s what you should look for:
Breasts that are their usual size, shape, and color.
Breasts that are evenly shaped without visible distortion or swelling
If you see any of the following changes, bring them to your doctor’s attention: Dimpling, puckering, or bulging of the skin.
A nipple that has changed position or an inverted nipple (pushed inward instead of sticking out) Redness, soreness, rash, or swelling.
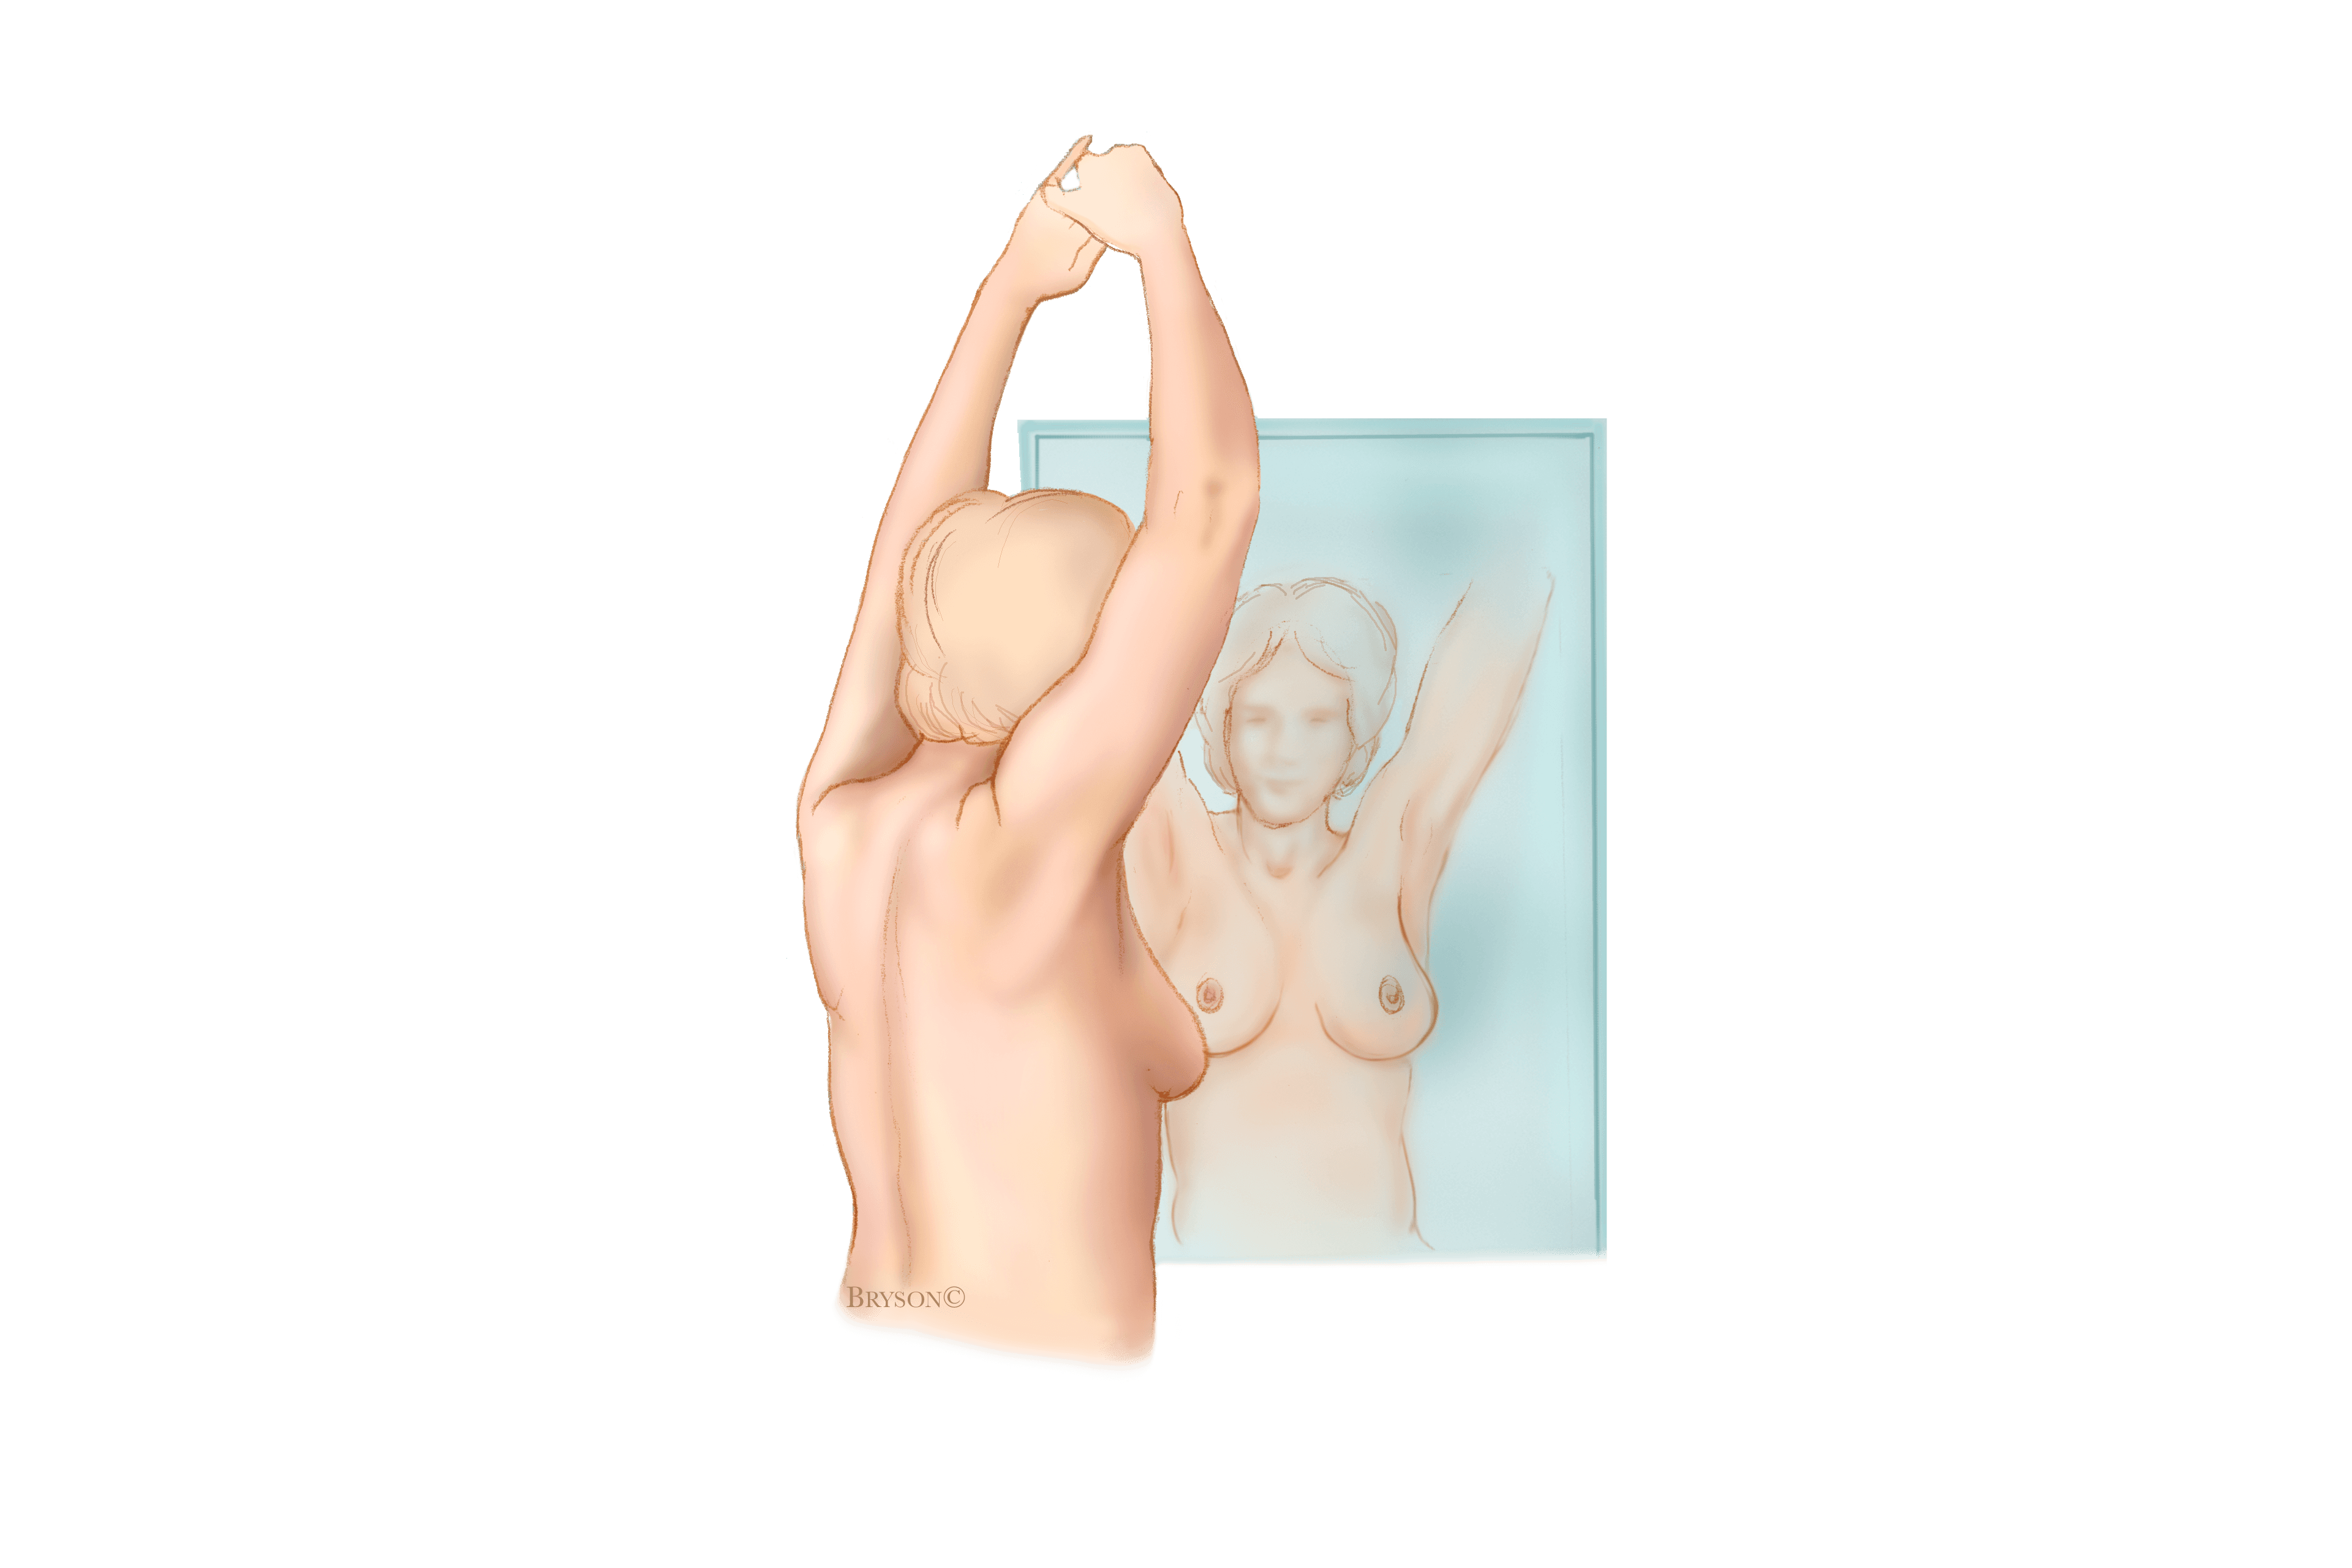
Step 2: Raise Arms and Examine Your Breasts
Step 3: Look for Signs of Breast Fluid
While you’re at the mirror, look for any signs of fluid coming out of one or both nipples (this could be a watery, milky, or yellow fluid or blood).
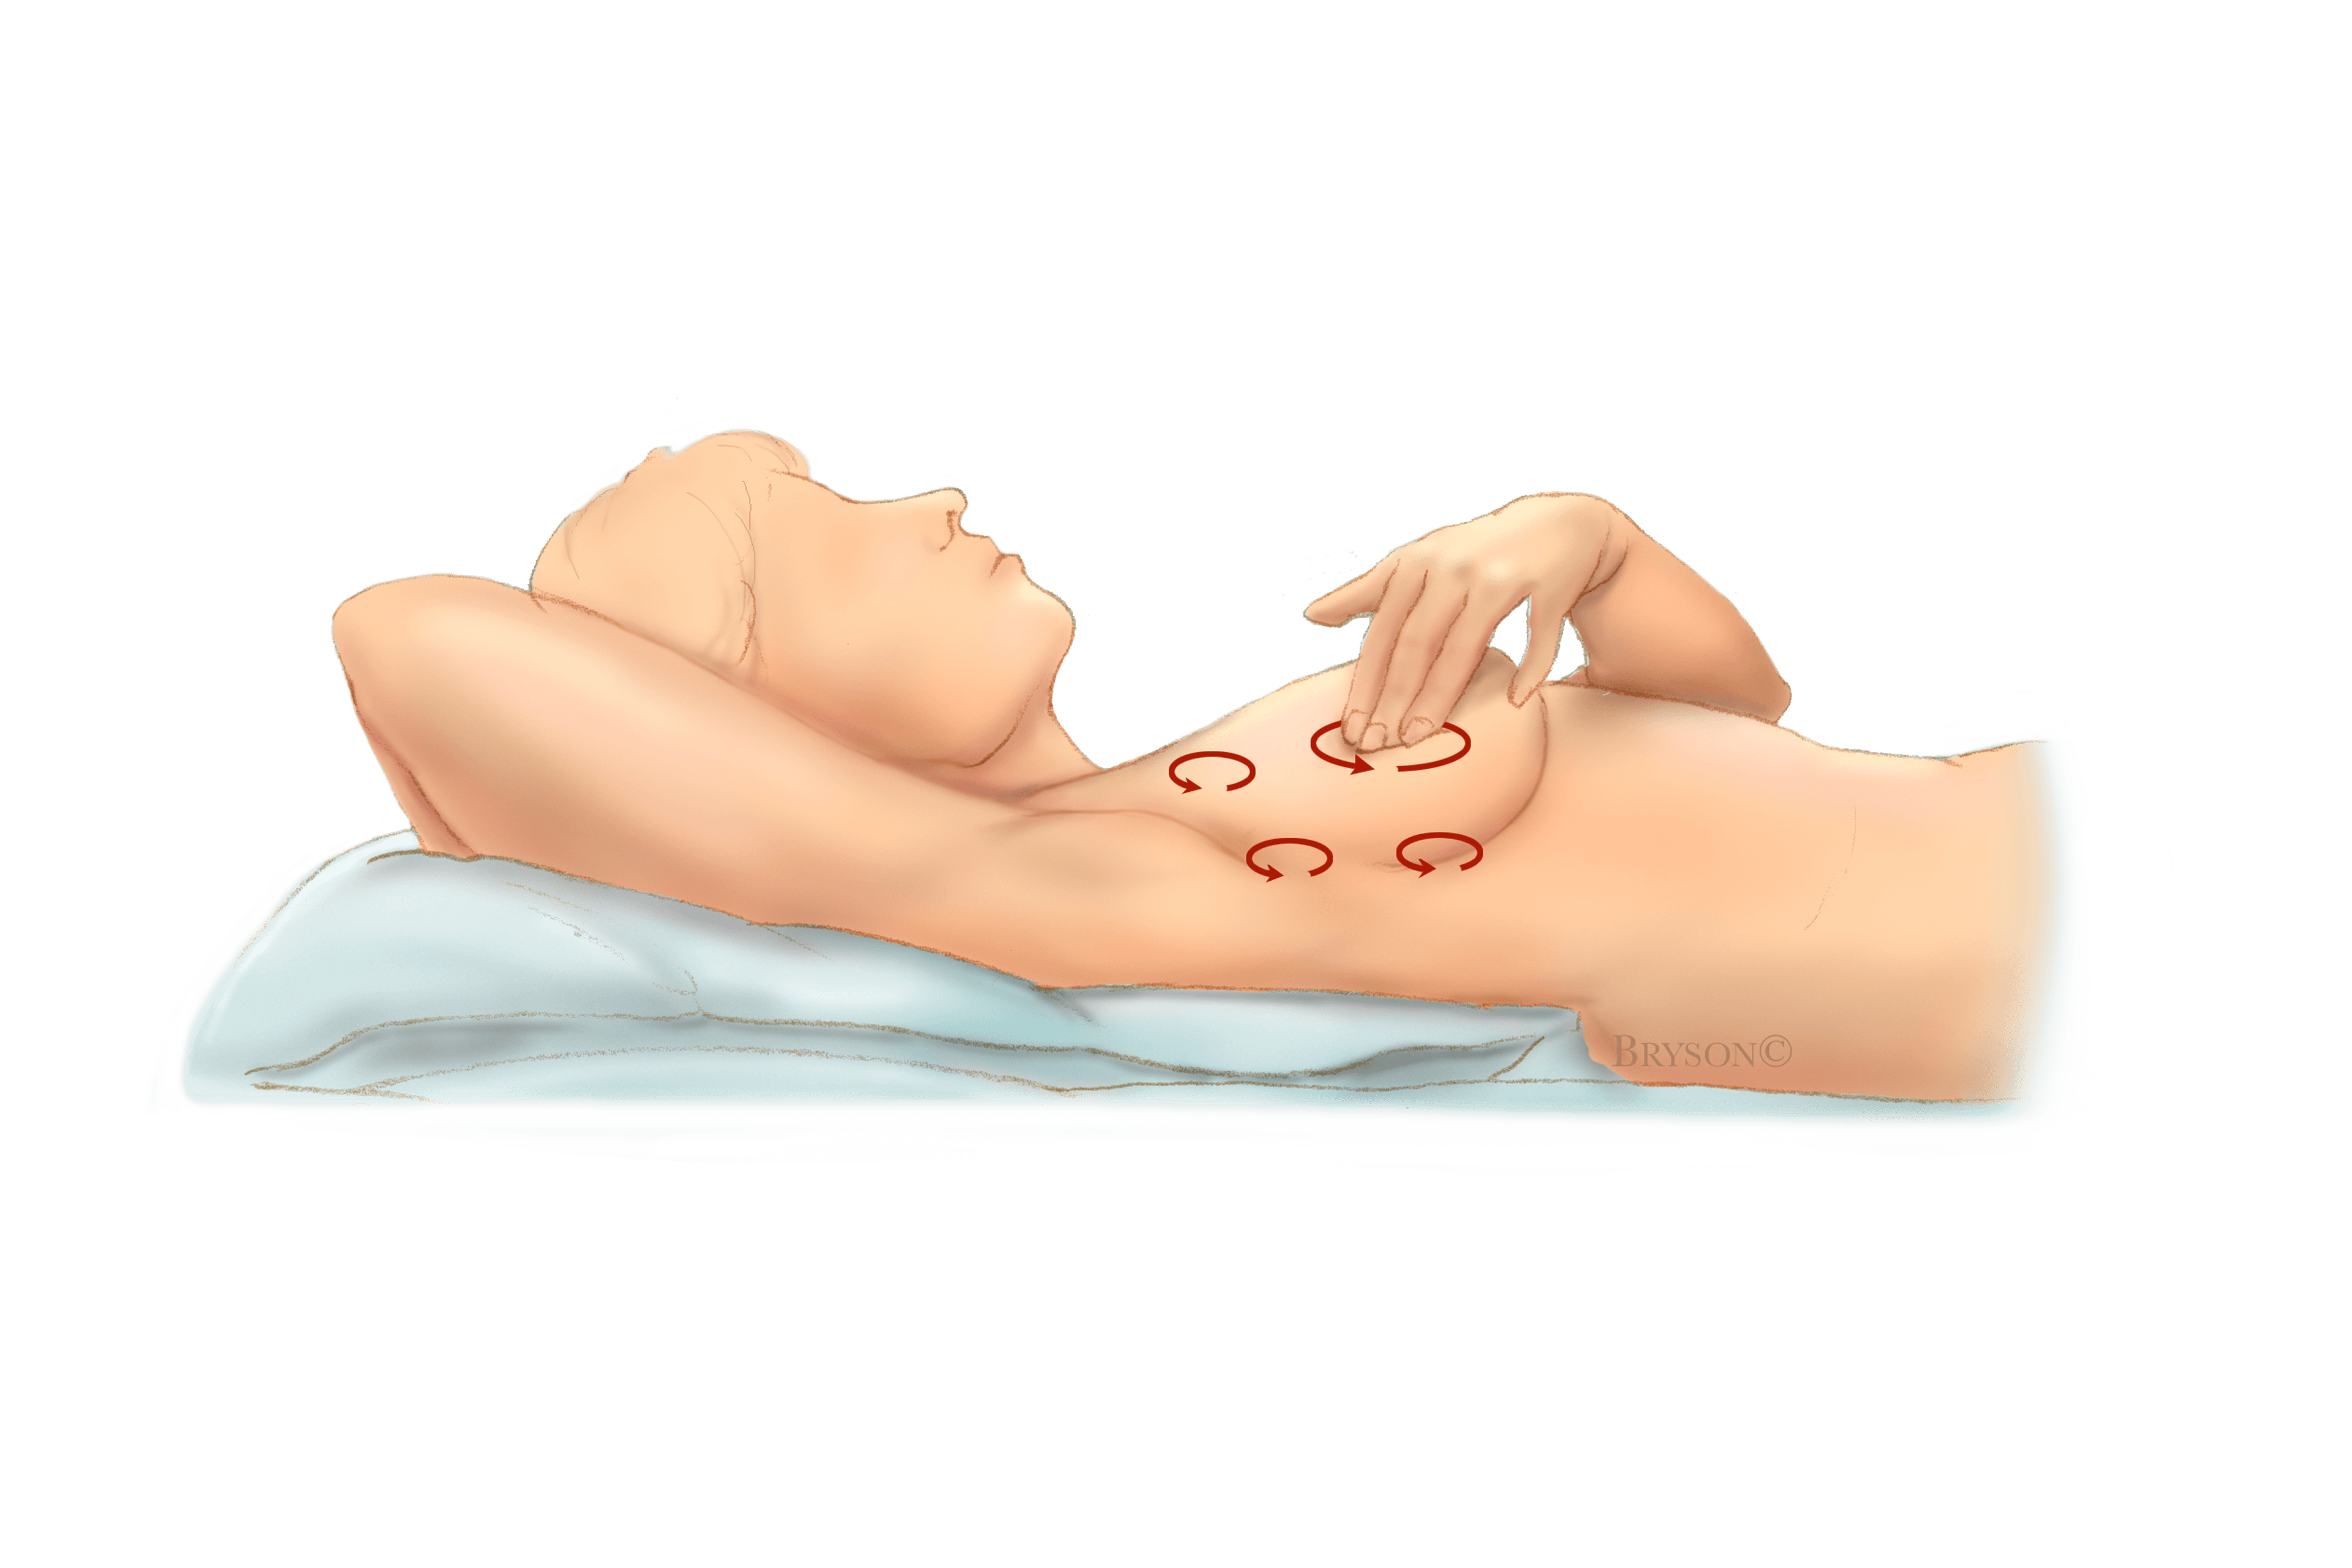
Step 4: Feel for Breast Lumps While Lying Down
Next, feel your breasts while lying down for lumps or abnormalities, using your right hand to feel your left breast and then your left hand to feel your right breast.
Keep your fingers flat and together while applying a firm, smooth touch to the first few finger pads of your hand. With your fingers, press down and move them in a quarter-sized circular motion (or an inch around).
Cover the entire breast from top to bottom and side to side — from collarbone to top of abdomen and armpit to cleavage.
Follow a pattern to be sure that you cover the whole breast. You can begin at the nipple, moving in larger and larger circles until you reach the outer edge of the breast. You can also move your fingers up and down vertically, in rows, as if you were mowing a lawn. This up-and-down approach seems to work best for most women.
Be sure to feel all the tissue from the front to the back of your breasts: for the skin and tissue just beneath, use light pressure; use medium pressure for tissue in the middle of your breasts; use firm pressure for the deep tissue in the back. When you’ve reached the deep tissue, you should be able to feel down to your ribcage.
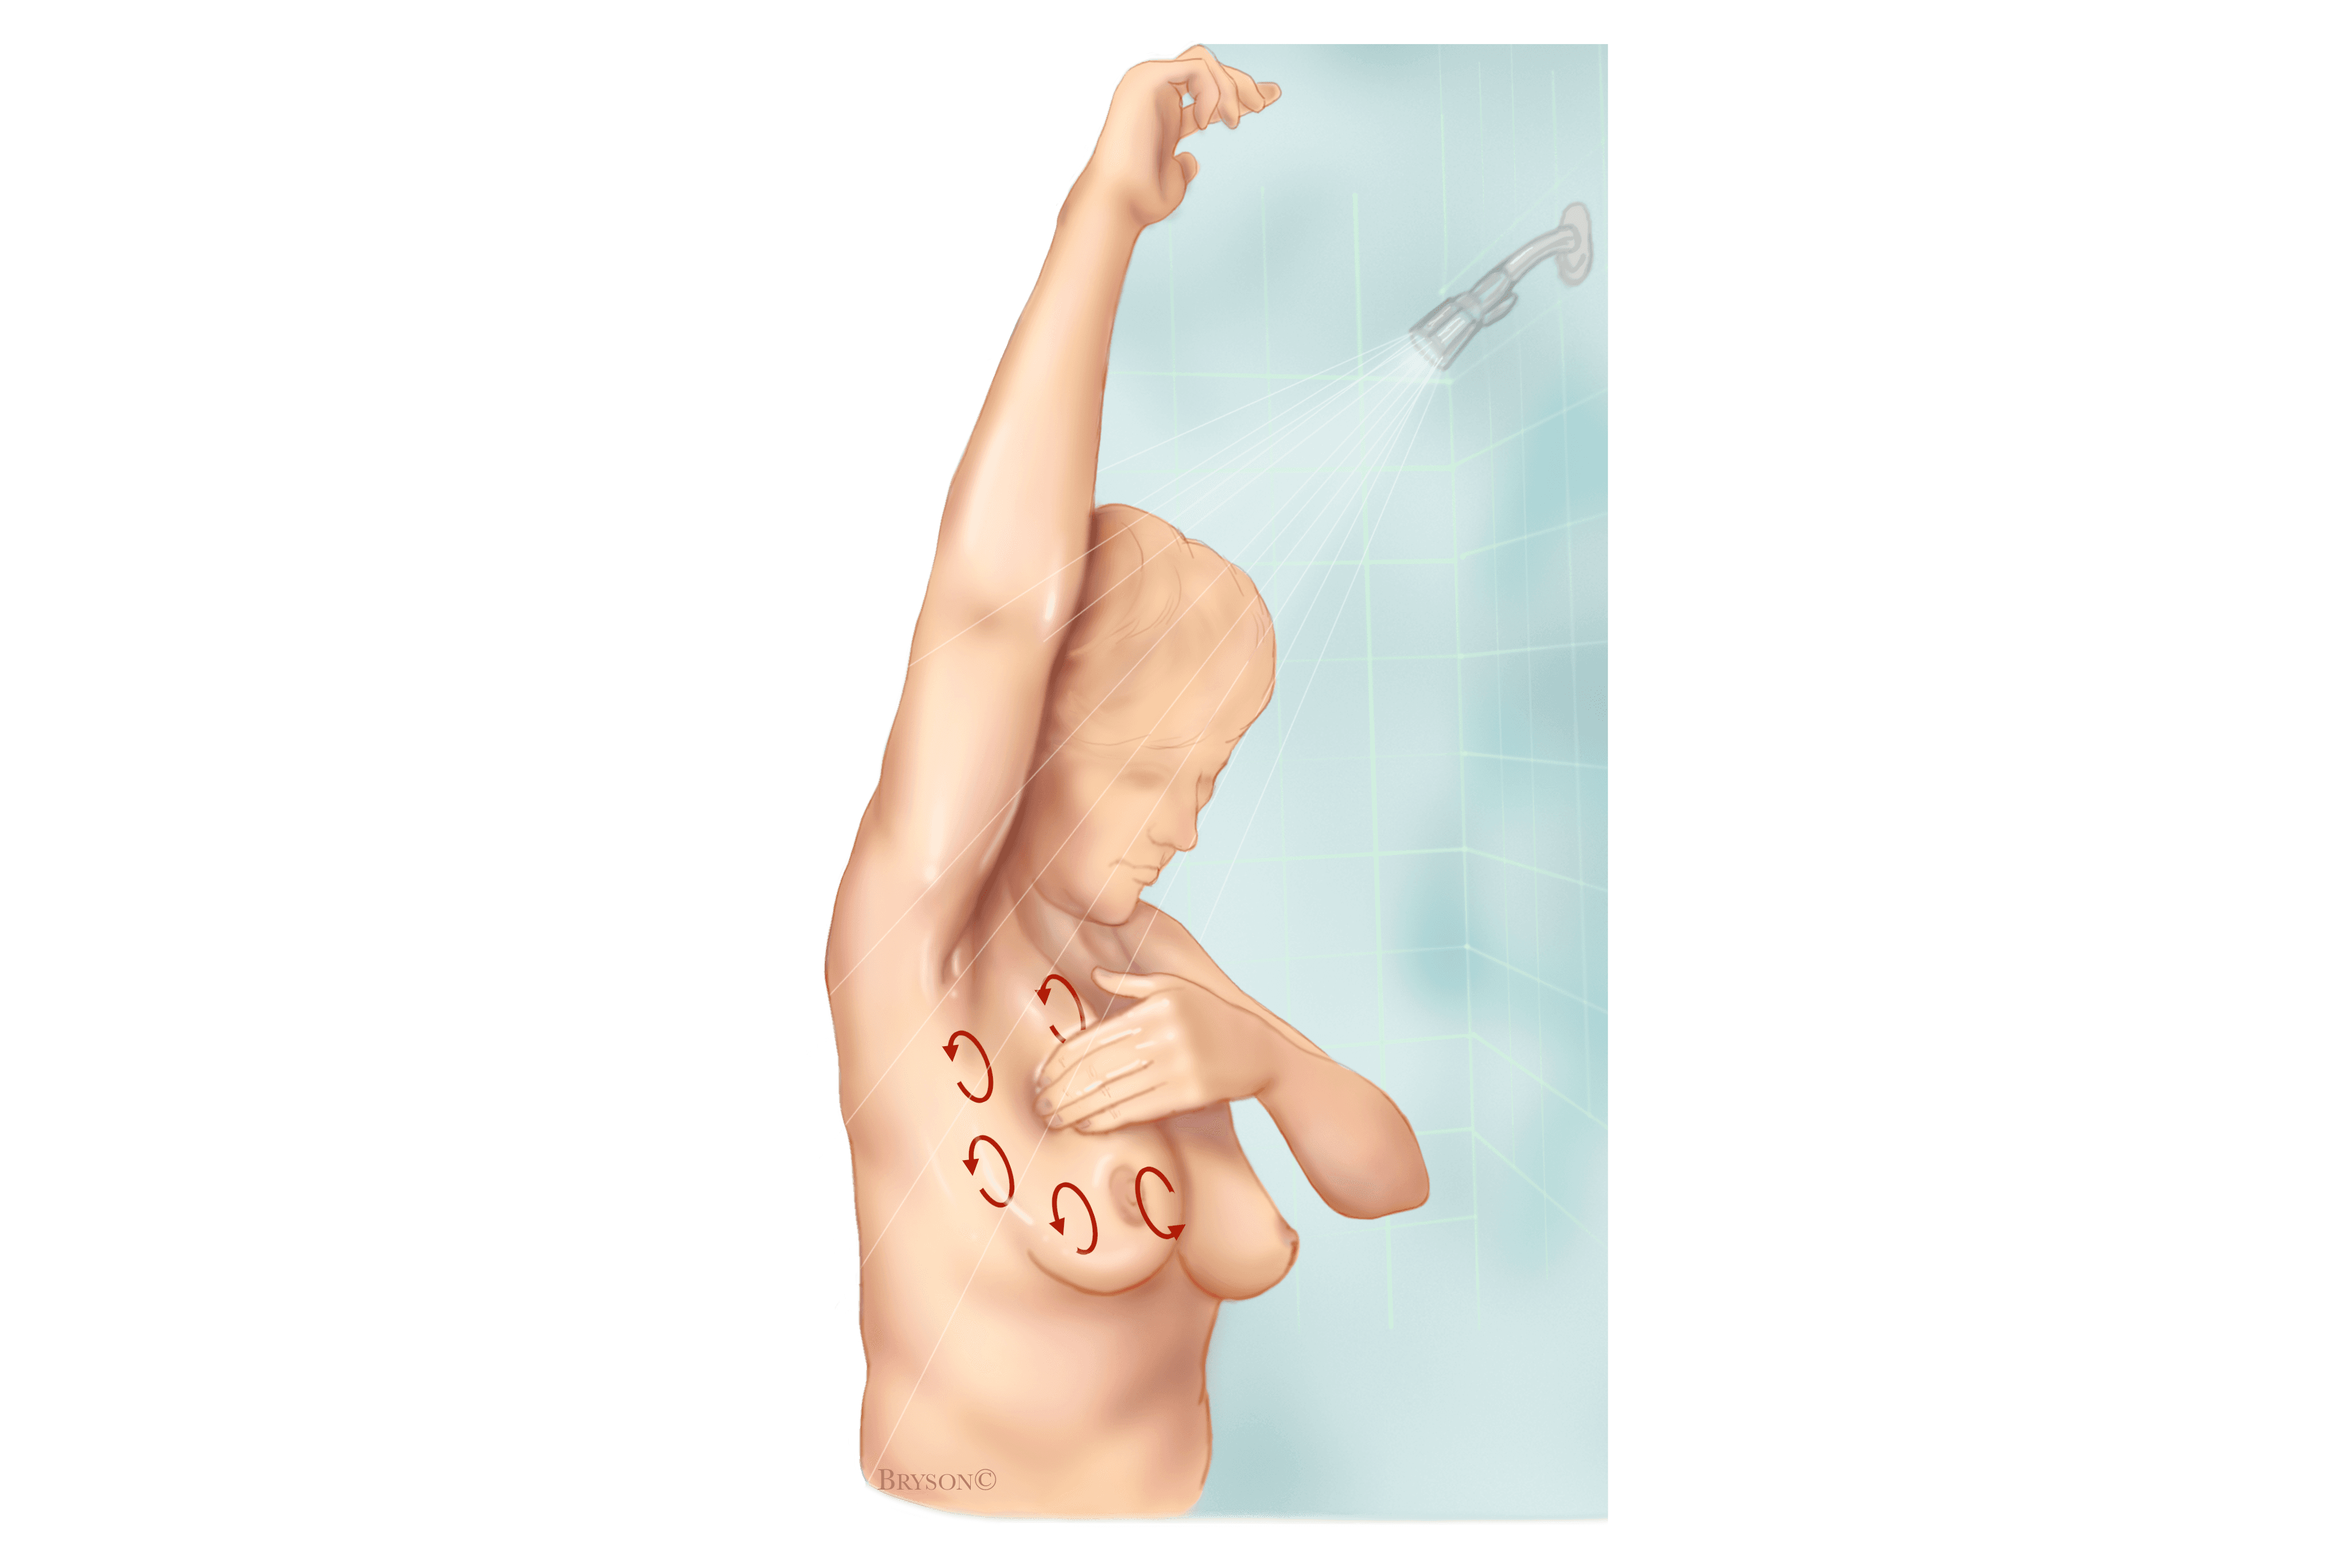
Step 5: Feel Your Breasts for Lumps While Standing or Sitting
Finally, while standing or sitting, feel your breasts. Many women find that feeling their breasts is easiest when their skin is wet and slippery, so they prefer to do this step in the shower. Using the same hand movements as in step 4, cover your entire breast.