


Homemade soy milk contains no preservatives or additives and is ideal for drinking, fermenting, or making tofu.
The residual fibre, known as okara or u no hara, can be dried, frozen, and used as fertiliser.
This is a step-by-step instruction for creating soy milk at home!
Some studies even show that consuming soy protein daily may help reduce harmful LDL cholesterol levels in the body.
How To Make Soy Milk
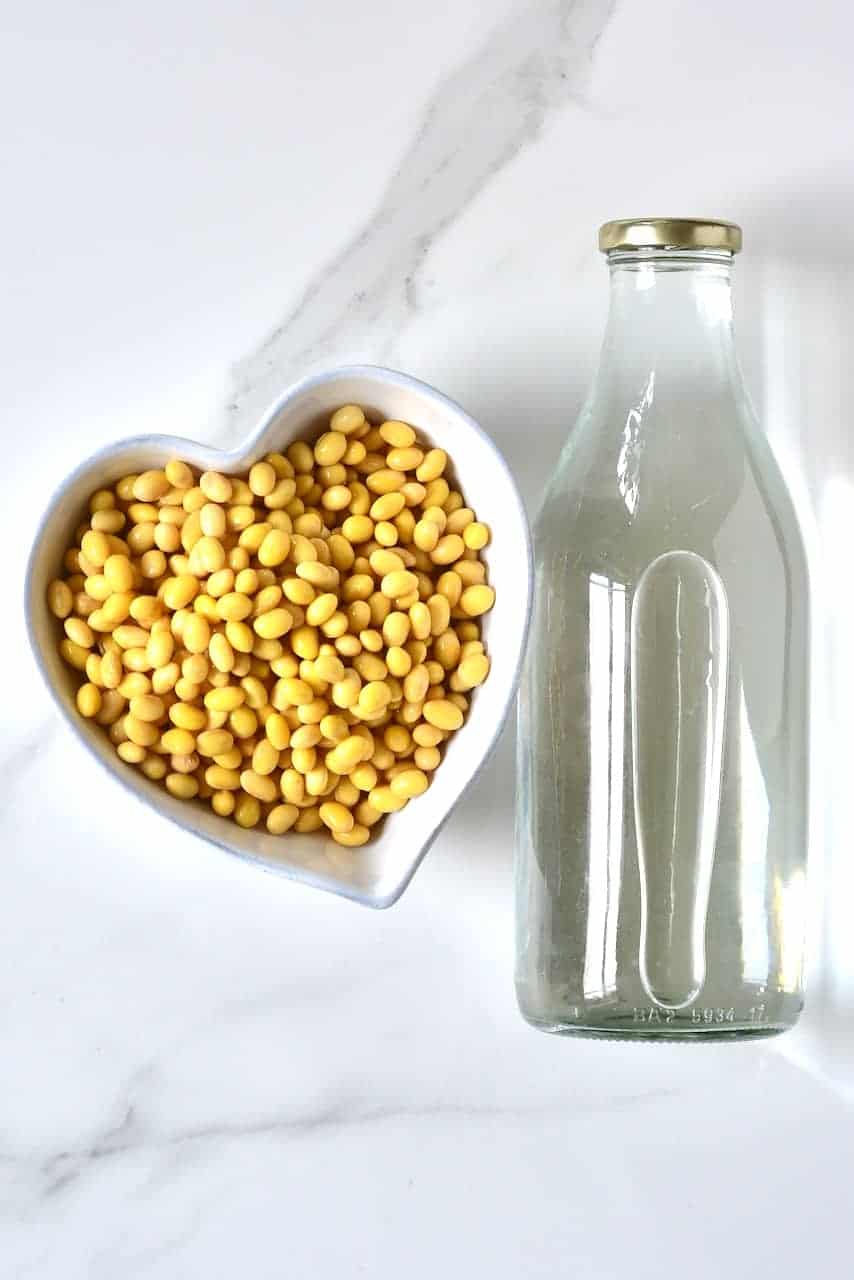
Making soy milk is a fairly simple process, using just two ingredients – soybeans and water.
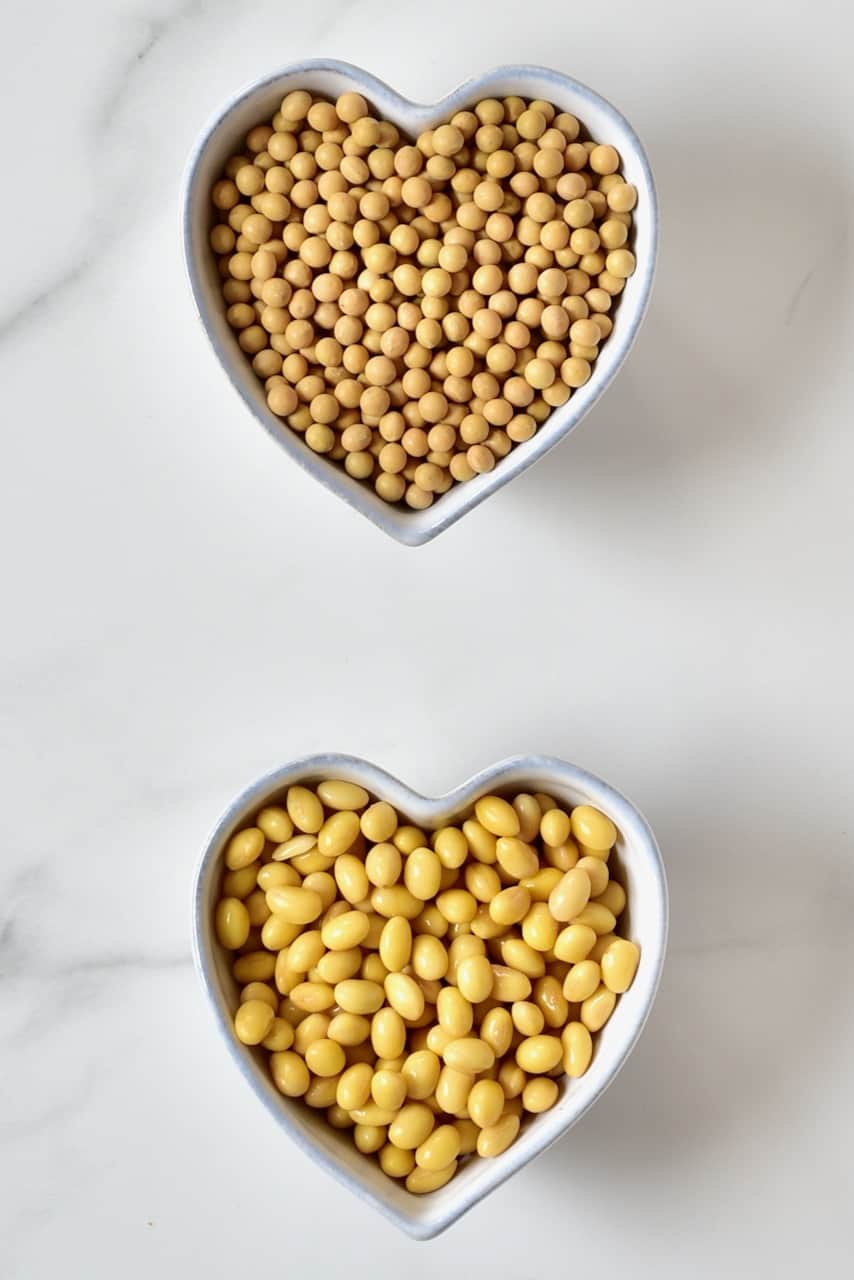
The first thing you need to do is soak your soybeans. Soak the beans in water for at least 6 hours, or overnight.
You’ll notice that soaked soybeans will expand between 2-3 times in size.
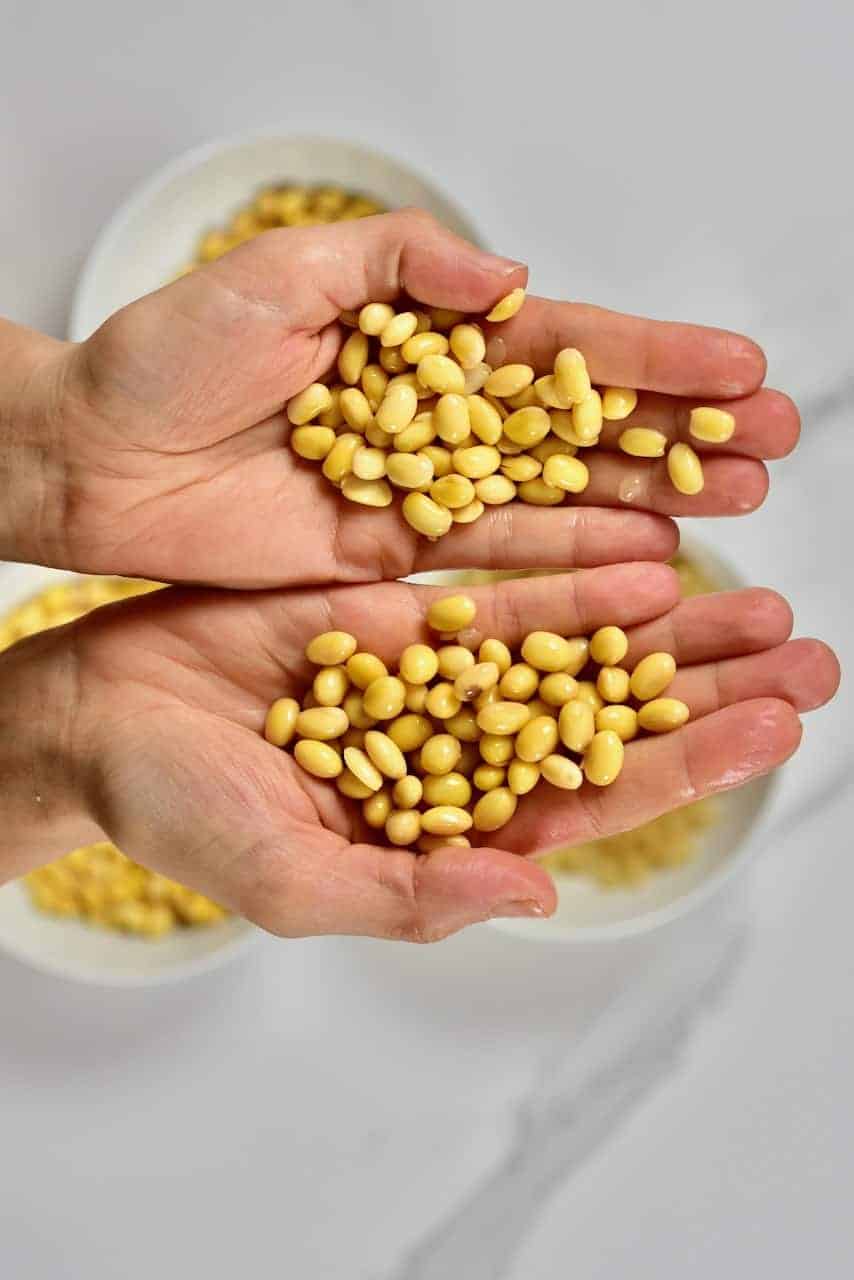
Once they are soaked, you can then optionally peel the beans. This isn’t 100% necessary, although it will help to blend smoother homemade soy milk and only adds a couple of extra minutes of prep time to the recipe. After soaking the beans, the skins will come off very easily.
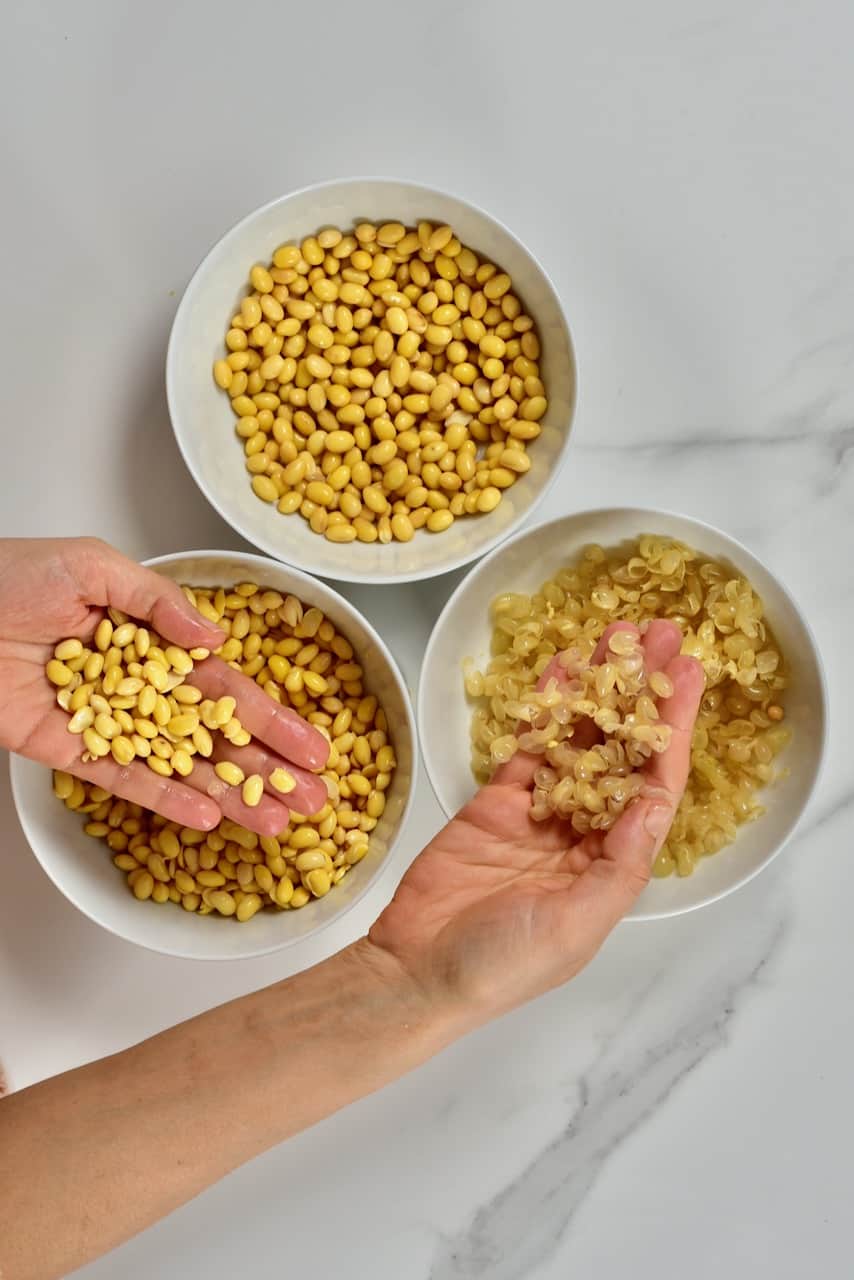
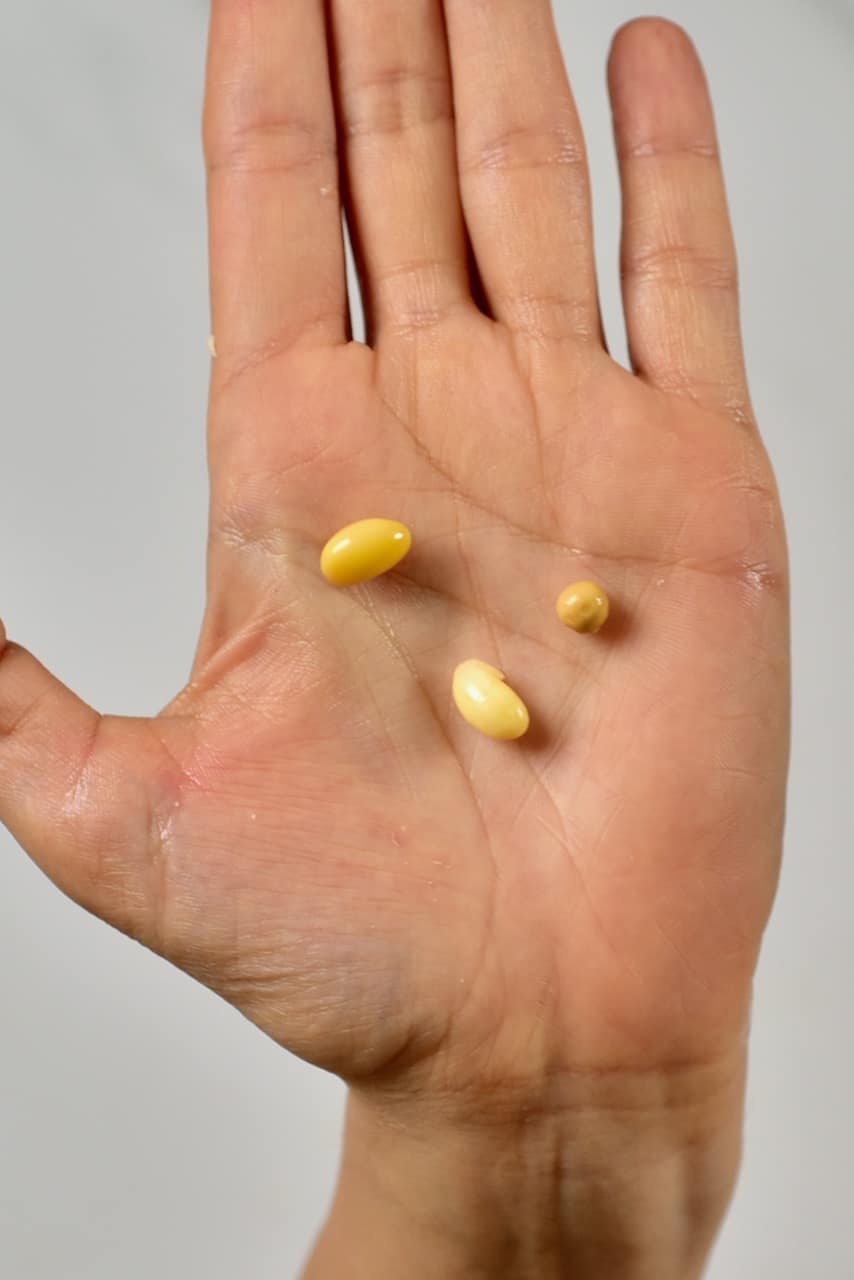
Close up of the three beans – dry, soaked unpeeled, soaked peeled.
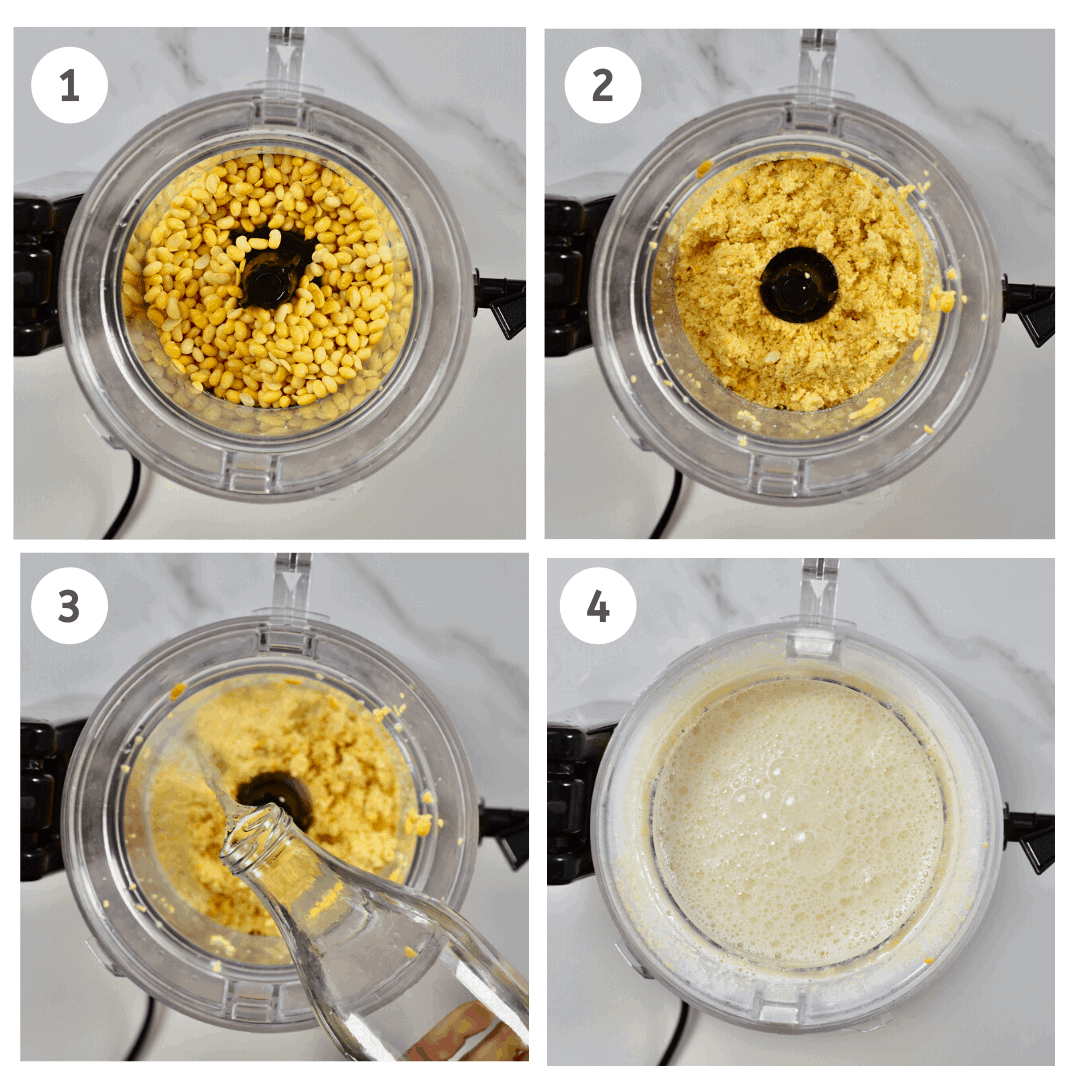
Next, add the soaked beans into a high-speed processor/blender for just 10-15 seconds to break down the seeds slightly.

Add the cups of water and blend again until smooth and creamy.
You then do an initial strain into a large pot. This will reduce the risk of any of the beans burning to the bottom of the pot. However, I transfer the entire mixture into the saucepan and bring to a boil over medium heat as I stand over the pot during this process and stir often.
When the mixture starts boiling, continue to cook for 3-4 minutes.
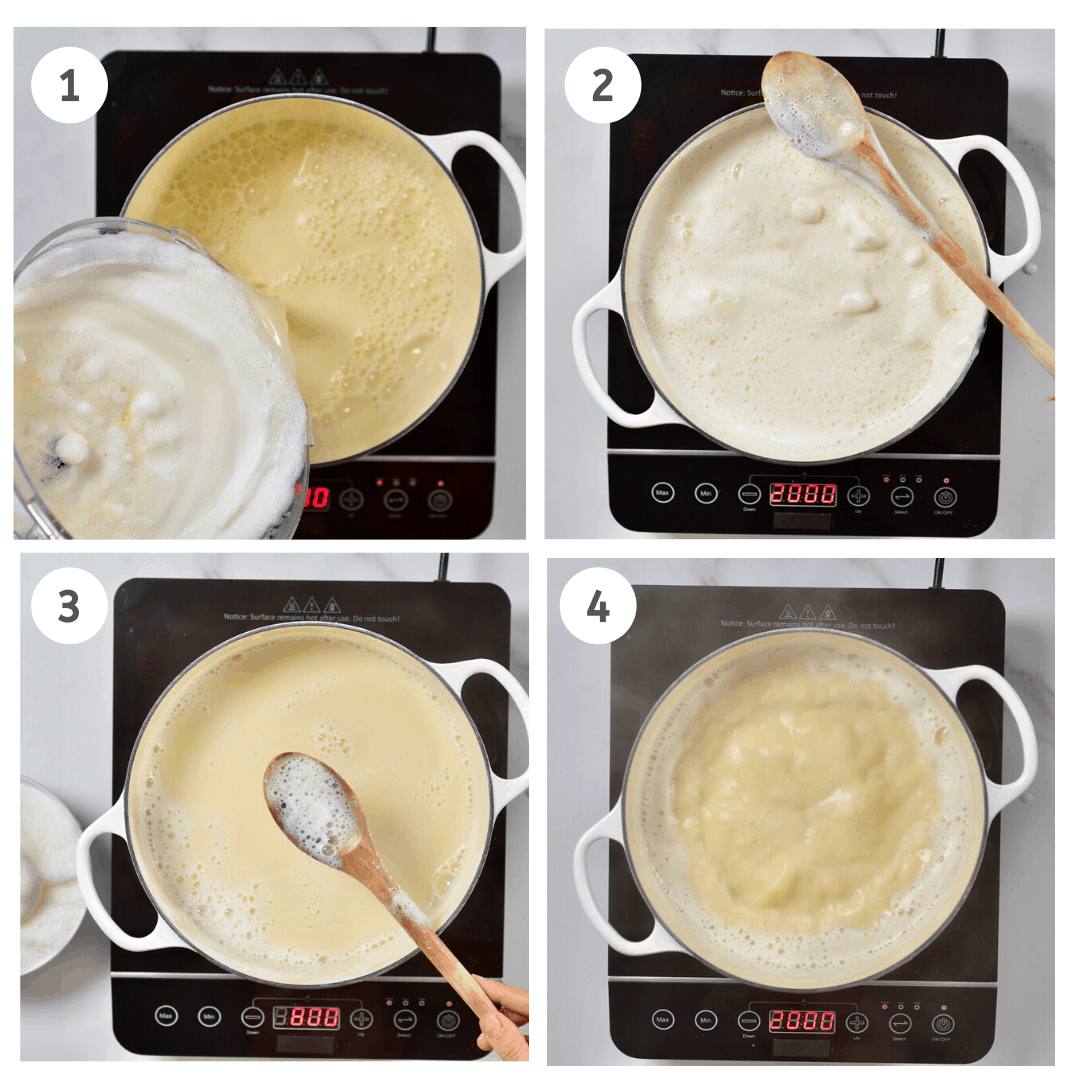
While boiling, remove the foam that starts floating on top. You want to try and skim as much of this foam as you can.
Reduce the heat and simmer for 15-20 minutes, occasionally stirring to make sure nothing is sticking to the bottom of the pan.
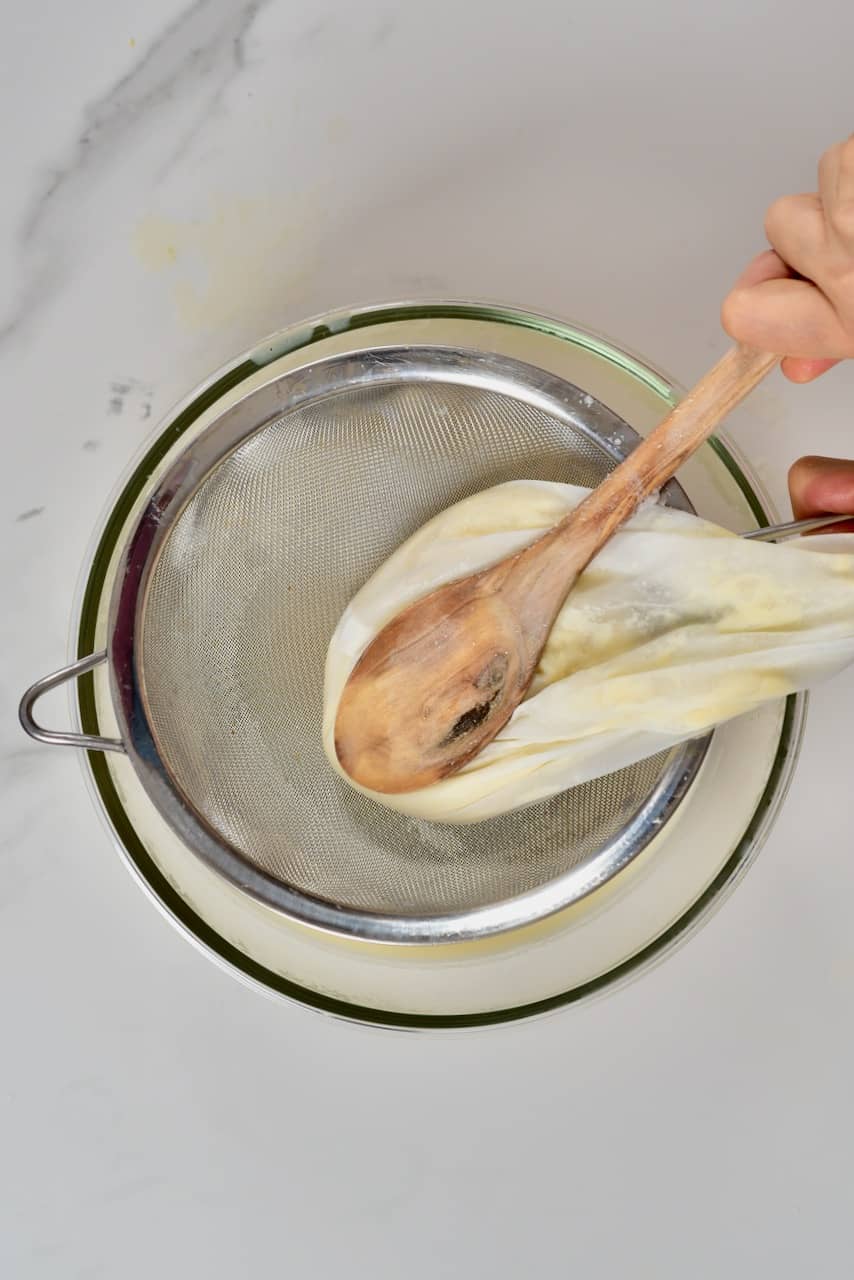
Turn the heat off and leave to cool down for a few minutes. Then pour the milky liquid in a bowl through a nut milk bag.
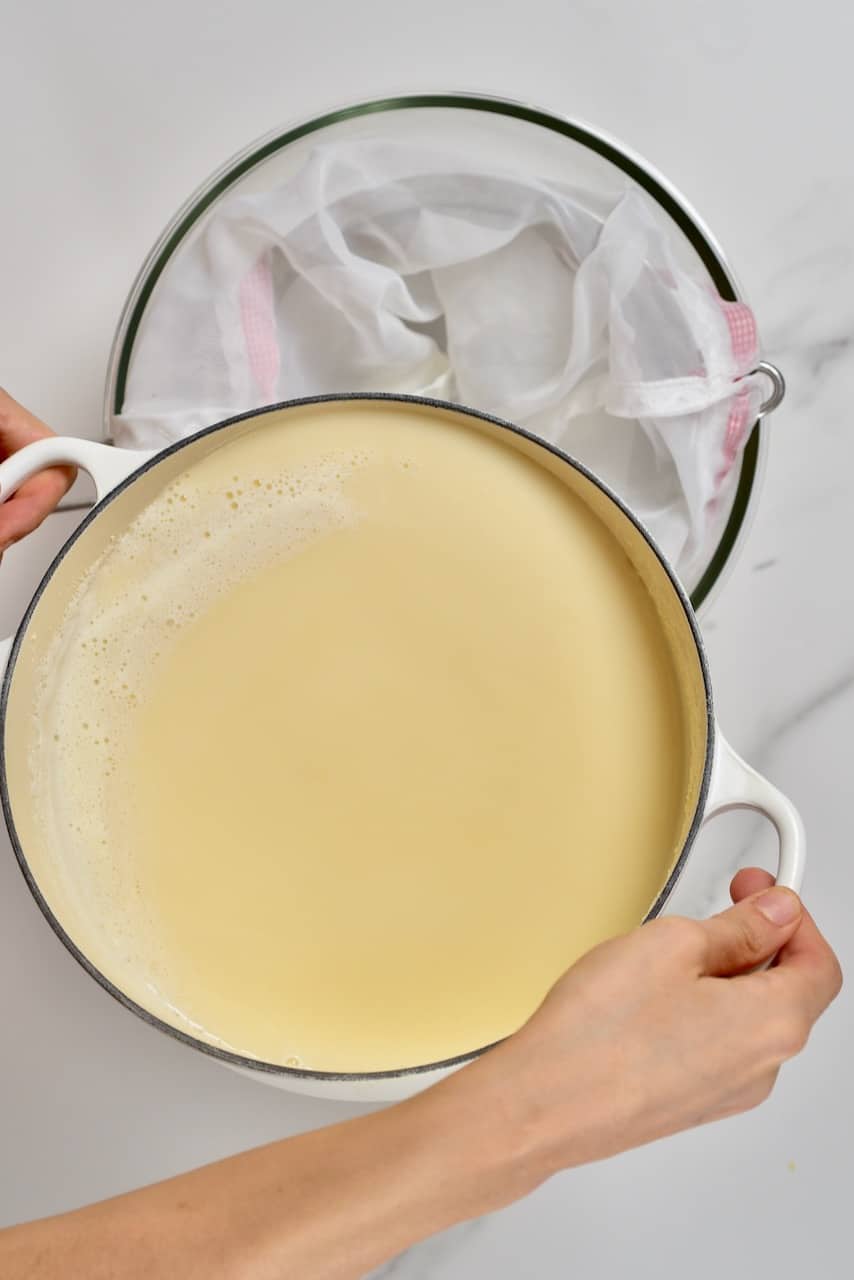
Squeeze or press down the nut milk bag, so all the liquid drains into the bowl.
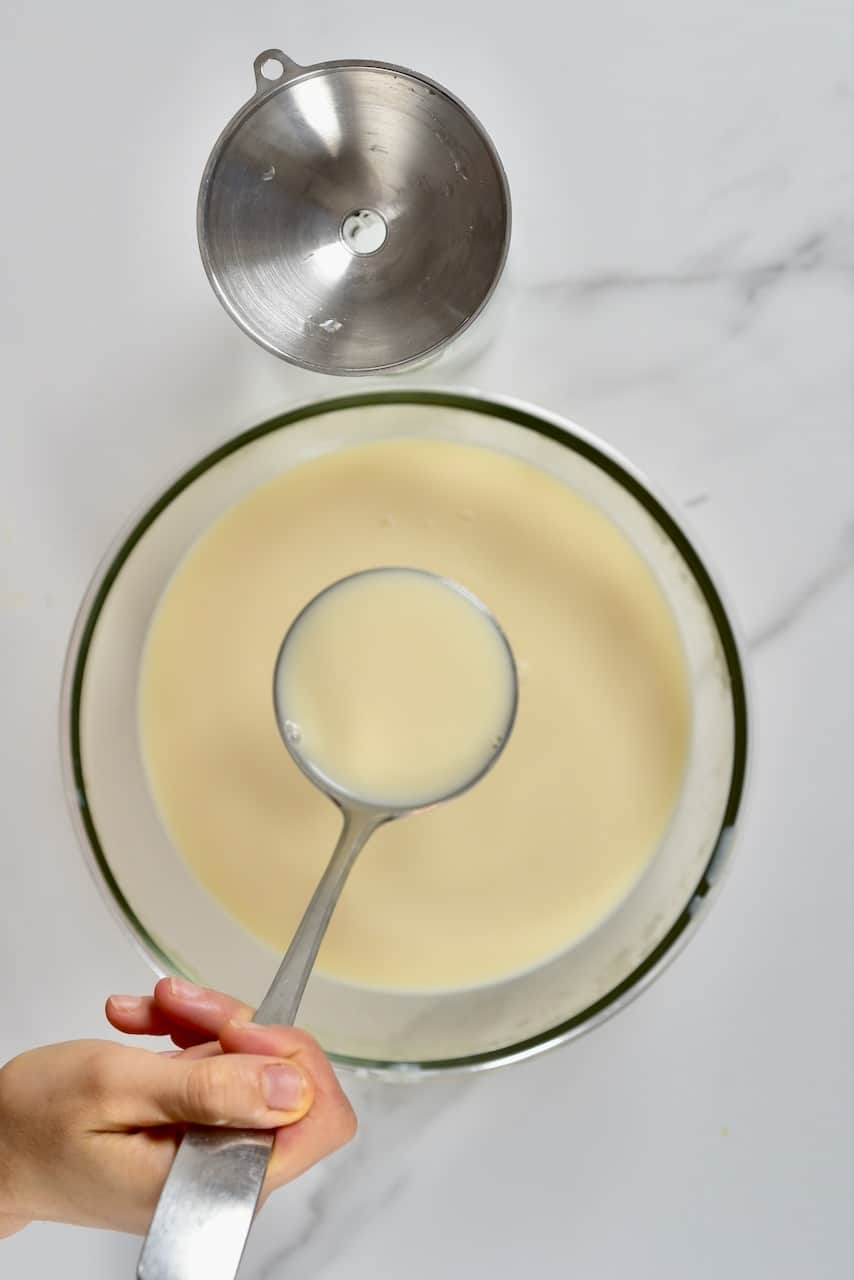
This can then be transferred to a bottle.
Store your homemade soy milk in the fridge for 3-5 days. If it begins to smell/taste sour, then it is past its best.
You can also freeze soy milk for 3-6 months. However, this can slightly affect the texture of the milk (although not the nutrition).